
Are you tired of those annoying ads while you browse the internet, in fact, even while reading this simplest yet most effective guide? Also, ad-blockers don’t really work well, and there are always ads dodging them and popping up on your screen.
However, if you are open to a fun Raspberry Pi project, this guide will help you with setting up the most effective ad blocker on your network, and you will no longer suffer with those marketing banners. The most joyous part is you can even block ads from popular platforms like YouTube and Spotify. Also, you don’t have to install the Pi Hole on individual devices, as it works on the network level and ditches those ads on all the connected devices.
One of the other reasons why one should be installing a powerful ad blocker is because ads from nasty platforms can eat up your bandwidth, have a tracker installed, or transmit your data to the origin. For extra protection, I recommend a powerful split tunneling communication, which you can get along with NordVPN. It is one of the best VPN platforms I have tried and tested.
Quick Links
- How Does the Pi-Hole on Raspberry Pi Actually Block Ads?
- Everything You Will Need to Set up Pi Hole on Your Raspberry Pi
- Setting Up the Pi
- Configuring the SSH
- Installing the Pi-Hole on your Raspberry Pi
- After the Installation of Pi-Hole
- Setting Up the Router for Pi-Hole
- Configuring Pi-Hole as your Network’s DNS Server
- Done. Let’s Now Check if Pi-Hole is Working
- Wrapping up: Block Ads with Pi-Hole on Raspberry Pi
Also Read: Best & Free Network Monitoring Tools for Linux
How Does the Pi-Hole on Raspberry Pi Actually Block Ads?
When you look for a website using your browser on your computer or a mobile device, it sends and receives addresses to the DNS servers and the client (the device). This is done because domain names are more human-readable than the physical addresses.
So, if you are using smart devices, like Alexa or other Internet of Things, they send a request to the DNS server each time, and this is how they are able to communicate. However, this is also how programs like Ads on websites communicate with their domain name server. One of the ways to block these ads would be to have a program that sits between the client and the domain name server and filters out which of these get to pass through the communication.
This is exactly where Pi Hole comes into the picture. The Pi-Hole program sits between the DNS and the client and only allows useful website content to complete the communication and block content like ads. Since the communication is not complete, the ads fail to load, and you won’t be seeing them while reading articles on the web, listening to music, or even watching YouTube videos.
Everything You Will Need to Set up Pi Hole on Your Raspberry Pi
To set up Pi Hole on your network, you will require a Raspberry Pi; we recommend using the Raspberry Pi 4 for this. You can use the mouse and keyboard along with it, but we recommend using the setup headless (SSH client) for convenience.
You will also require a few other things, such as a computer connected to the same network, a USB cable, a microSD card, and an adapter to connect your microSD card to the computer. Using a computer/laptop, we are going to set up the SSH connection on the Raspberry Pi so we can set up a headless connection.
We will also require some soft details about your internet connection, such as your SSID name and password for configuring the network on the Pi.
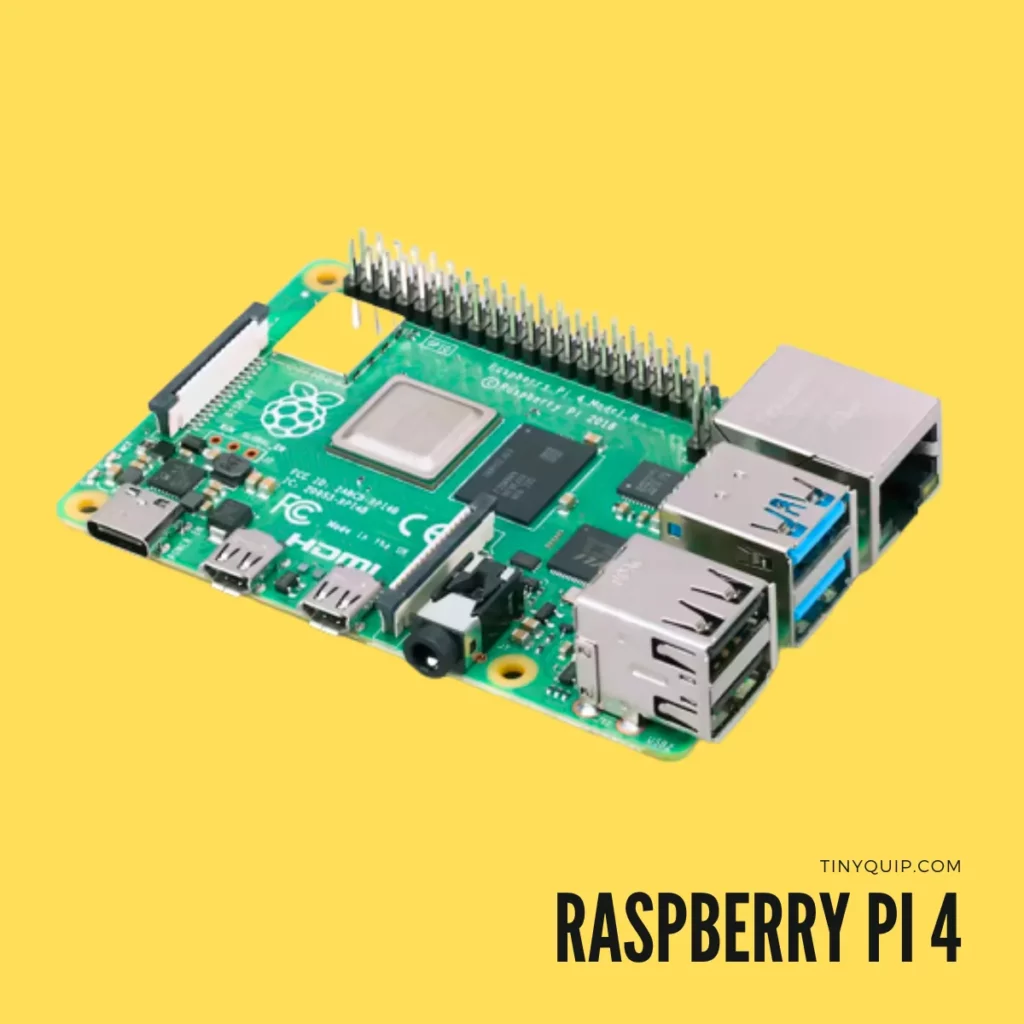
Raspberry Pi 4
- Quad-core Cortex-A72 (ARM v8) 64-bit SoC @ 1. 5GHz
- 4GB LPDDR4-2400 SDRAM
- A 2. 4 GHz and 5. 0 GHz IEEE 802. 11B/g/n/ac Wireless LAN
- 2 × USB 3. 0 ports, 2 x USB 2. 0 Ports
- 2 × micro HDMI ports supporting up to 4Kp60 video resolution
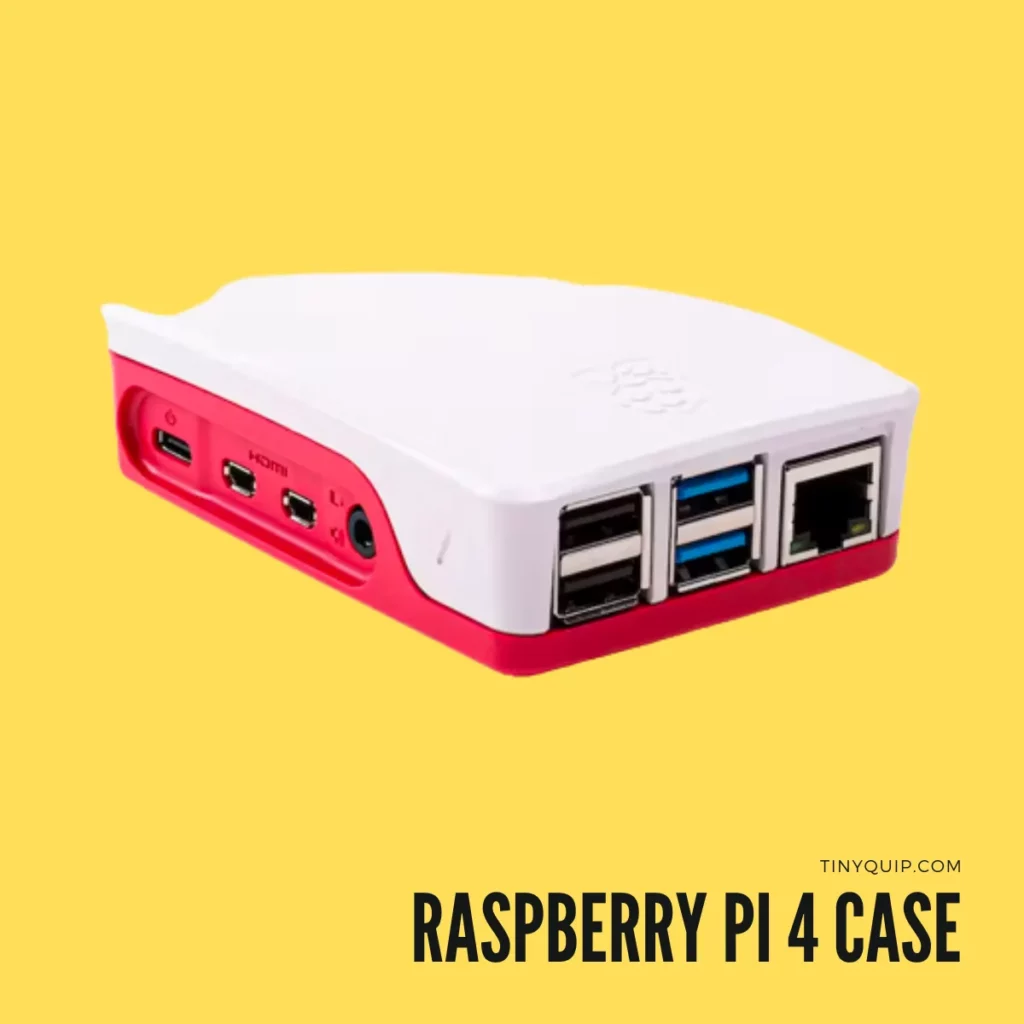
Raspberry Pi 4 Accessories


Setting Up the Pi
Advanced users already know how to set up the Pi for the first time, and if you are new to this device, you can follow the official documentation page to set up your Pi. Also, ensure that you install the Raspberry Pi OS lite version (32-bit) to operate your device seamlessly in headless mode.
When in the OS Customization Stage, here are a few important things to do,
- Note down the username and password that you have set so we can authenticate later. We also require the hostname, so ensure you also note it down.
- Ensure you enable the “Configure Wireless LAN” option so that your Pi can automatically connect to the internet.
- Enable the SSH option so we can use the Pi headless.
- Correctly enter your SSID name and password to establish a connection.
These are very important information and tasks that we will require in the next step while configuring the SSH connection.
Configuring the SSH
To configure the SSH connection on your Pi, we will require you to install a terminal on your computer (Windows) and then connect the Pi using a USB connection. The most commonly used terminal is PuTTY, which offers a less complicated interface for users and is flexible. You can download this terminal for free from their official website.
To establish a connection between your Pi and PuTTY, we will use the following commands,
ssh @hostname.local Here, the username we are referring to is the username and hostname that we set during the installation and noted down in the previous step.
After you process this command, if SSH asks you for confirmation to establish a connection, reply with a yes and press enter.
If the next command returns with the username and hostname as shown below,
@ :~ $ Then, the connection between your Raspberry Pi and PuTTY is successful.
Also Read: Linux Commands Cheat Sheet | Using Linux Like a Pro
Installing the Pi-Hole on your Raspberry Pi
For blocking ads using Raspberry Pi and Pi-hole, we first need to install the Pi-hole and then configure the network.
Continue with the SSH terminal and type the following command,
curl -sSL https://install.pi-hole.net | bashThis is one of the easy methods to install Pi-hole on your Raspberry Pi. However, piping bash commands disallow you from reading the scripts, and if you feel unsure, you can follow these alternate methods to complete the installation.
When asked for the Static IP address, click on continue, and when it comes to choosing an internet interface, select wlan0 as we are going to use our Raspberry Pi’s Wi-Fi connection.
You will also be asked to pick an upstream DNS provider, choose “OpenDNS,” and do not forget to include “StevenBlack’s Unified Hosts List.” This file is a combination of various host files from malware lists, Adaway, Dan Pollock, Peter Lowe, and more. So basically, these are the domains that you don’t want to pass through the Pi-hole to block ads.
Now, the interface will prompt you to install various other important things, such as the web admin interface, lighttpad, and various other PHP files required to run the admin interface. Once these files are installed, we will enable the query logging option and choose “Anonymous” as our privacy level.
After the Installation of Pi-Hole
Once the installation is complete, you can find some important information on your screen, such as,
- The IP address of your Pi-hole
- Link to admin address
- Admin password
Using the control key, click on the IP address to open the admin interface and log in using the admin password. The IP address should look something like http://192.168.Y.YY/admin and open in a browser. If you cannot open the link with the control key or the command key, copy the IP address manually, paste it into the browser, and then authenticate with the admin password.
Setting Up the Router for Pi-Hole
Now, we are getting close to setting up the Pi-hole in our network, and from here, we will be working at the network level for some time. It is important to be cautious as we may break the internet on your router. If so, you can always try to fix it by resetting to default configurations or calling up your network administrator.
The first and foremost step is to visit your network interface through the router’s IP address. If you don’t know your router’s IP address, you can use the following command on your Raspberry Pi’s terminal,
$ nmcli -f IP4.GATEWAY device show wlan0This command should return your router’s IP address, and you can use it to log in to your network interface.
You can also use an alternate way to find out your router’s IP address if you don’t want to run the above command. At the back of your router, you can find the IP address or a label with the admin URL. You can copy this and paste it on your browser to log in to your network interface.
For the admin username and password, you can find this information at the back of your router and sometimes in the documentation that came along.
Also Read: Want to Change Your Linux User Password? Here is the Guide For You
Configuring Pi-Hole as your Network’s DNS Server
The configuration of Pi Hole on your network is simple. We will first assign a static IP address to the Raspberry Pi and then route the DNS server settings through the Pi-Hole such that the routers still control the IP reservations, but the DNS queries are communicated through the Pi-Hole.
1. Assigning a Static IP Address
Most networks use DHCP (Dynamic Host Configuration Protocol) to assign IP addresses to devices. These IP addresses are known as dynamic IP addresses because they can change at any time, and we need our Pi-Hole to be assigned a static IP address (which does not change on its own) so the devices on the network can easily find the Pi-Hole program each time.
To assign a static address to Pi-Hole, we will require the current dynamic IP address and the MAC address of your Raspberry Pi. If you already know them, keep them noted, as we will shortly need them. However, if you don’t know the dynamic IP address or the MAC address, use the following commands.
To find the dynamic IP address of Pi-Hole,
$ hostname -ITo find the MAC address of your Raspberry Pi,
$ nmcli -f GENERAL.HWADDR device show wlan0Now, we have both the dynamic IP address and the MAC address of your Raspberry Pi. So, we will now try to turn the dynamic IP address into a static IP address using the router interface.
Log in to your router or network interface and look for the advanced section. This is where you will find the DHCP reservations list. Enter the dynamic IP address and MAC address of your Raspberry Pi.
If you cannot find this advanced option on your network interface, you can also use an alternate method. Look for the devices list and select your Raspberry Pi’s IP address and MAC address from this list. Now, under the configurations for this particular device, you can find the option to choose “Always use this IP address.”
There is also a third method to set static IP addresses, but this method does not offer network-wide ad-blocking through Pi-Hole; rather, it offers device-specific ad-blocking. So, you manually select devices that route through Pi-Hole.
2. Set Raspberry Pi as your Network’s Default DNS
Now that we have a static IP address for our Raspberry Pi, we want to route all the devices to use the Raspberry Pi as their default DNS. This way, we will be able to block all the ads using the Raspberry Pi and Pi-Hole configuration on the network.
But there is a problem.
Manually pointing individual devices to use the Raspberry Pi as the default DNS is a tough task. Also, most devices make it much harder for users to find the DNS settings.
Most routers automatically suggest and assign a DNS server for all the devices on your network. We can use this to our advantage and assign the Raspberry Pi’s IP address for DNS.
To assign Raspberry Pi as a suggested DNS, look for the “DNS” configuration in your router settings. In this DNS field, assign the static IP address of your Raspberry Pi. Repeat the process for all the available DNS fields so the router mandates routing all the traffic through the Pi-Hole.
Alternatively, if your router does not offer the option to assign a static IP address, you can always enable the DHCP settings. Enabling the DHCP configurations from the Pi-Hole interface, we mandate the router to use the DHCP protocols, and since it is done through the Pi-Hole interface, Pi-Hole is automatically suggested as the preferred DNS server.
To enable the DHCP settings, open the Pi-Hole web admin interface and log in. On the left of the web admin interface, select the “Settings” option, and you can find the “DHCP” option. Enable it.

Pi-Hole will automatically choose the IP address range and suggest itself as the default DNS server. This pretty much does the job.
Also Read: 11 Best Linux Distro For Programmers
Done. Let’s Now Check if Pi-Hole is Working
After setting up the Pi-Hole, the next job for us is to check if the Pi-Hole is working correctly, and this can be done by running a few tests.
The first and foremost thing you can do is run the “AdBlock Tester” website. This website is great to check out if any of the ad blockers that you have installed on your device are blocking ads. And if you are still able to see ads on this website, you probably need to get a different Ad blocker. With Pi-Hole, you shouldn’t be seeing most of the ads. Of course, you will find the cookie and app install banners as they cannot be blocked, but most other ad types shouldn’t be visible.
There is also another way to see if the Pi-Hole program on your Raspberry Pi is actually blocking ads. For this, you can visit the most commonly visited blog with ads and check if any of the ads are visible while Pi-Hole is active on your network.
You can also check the Pi-Hole admin dashboard after using it for a while to see the ad-blocking ratio and check other devices on the network for visible ads, which shouldn’t be the case.
Wrapping up: Block Ads with Pi-Hole on Raspberry Pi
This pretty much wraps up the simplest guide on setting Pi-Hole on Raspberry Pi to block ads. Ad-blocking with Pi-Hole is effective compared to any other third-party apps that you will install on your device, and it also works on the network level, so all of the connected devices will block ads, and you don’t have to manually configure them.
Additionally, you can always look up the Pi-Hole dashboard and check the statistics on how many ads were blocked and related information. To make your transmission more secure, you can even install a VPN like NordVPN as an OpenVPN service on your Raspberry Pi. This pairing will offer you both ad-blocking and secure communication on the internet.
I hope this guide came in handy to help you block ads on Raspberry Pi using Pi-Hole. There is a lot that can be done with Raspberry Pi, and we will try covering it in our future guides. Meanwhile, if you have a question for us, drop them in the comments below. If you like this article, do give this a quick share on your social media handles and do tag us. Also, join our Telegram channel, Facebook page, and Twitter to never miss a quick update.