
Want to compress images for your WordPress website? Here is a secret sauce that we use.
One of the most challenging tasks for WordPress managers is to improve the page speed and experience of their websites. Now, images are one of those resources that take a lot of communication between the browser, eventually hurting your website’s performance. Also, it hurts the user experience when they see a huge empty box while reading your content, and the image loads much later.
Such slow websites have fewer chances to rank on top competitive search queries in their domain, as the overall user experience is poor. One of the aiding solutions is to compress your WordPress images which not only not saves you bandwidth but also improves the overall user experience.
In this helpful guide, I am going to share a few tips with you on how you can compress your WordPress images with and without using any plugins and also talk about Kinsta servers for faster web pages.
Get Powerful Managed WordPress Hosting
Check out Kinsta WordPress Managed Servers for powerful cloud server performance, high page speed, and managed deliverability.
- Cloud servers with your choice of data center among 35 locations
- HTTP/3 quick support
- Malware security pledge
- Staging environments, site management, and optimization tools
- Cloudflare Enterprise and CDN
What is Image Compression, and How Does it Work?
When you download or create a visual for your WordPress website, you might not notice the size of the image is usually in MBs and, at times, even in GBs. The larger the file size, likely, the image is visually appealing, has higher contrast, and no pixelation.
Such images look great, but they also churn huge storage on your WordPress Servers. Also, when a user visits your website, all these resources, such as images, videos, content, and everything else, have to be first downloaded on the browser to be visible. No user would want that and just bounce to other websites with similar information or domain.
Image compressing is basically reducing the file size while maintaining the visual appeal and lesser pixelations. Most commonly, WordPress managers prefer using paid plugins that compress the images, which is good, but there are also ways you can do it without using any plugins.
Once the images are compressed, you can seamlessly use them on your web page, and the overall performance should be better than before. This is because as the file size is reduced, the browser has to download lesser information and eventually make the web page faster.
Let’s look at some of the tips on how you can compress WordPress images and a few practices that you can follow.
Also Read: How to Choose the Right WordPress Theme | A Tiny Quip Guide
How to Compress WordPress Images | With and Without Plugins
Compressing images for WordPress can be done either before uploading them or after uploading them. If you want to compress images after uploading them, you can use handy WordPress plugins like Smush to do it for you. However, if you don’t want to install a new plugin and increase the server load, you can build a habit of compressing images before uploading them.
Now, there are a couple of things you can do to compress images before you upload them to your WordPress website. We’ll shortly discuss them, but it is also important to note you don’t lose out on the visual appeal and quality when compressing the images. Without an appeal, no matter how good your creatives are, they would fail to grab attention.
Here are a few things you can practice to compress WordPress images,
1. Get the Right Size
When you design creatives, download them from the web, or link them from another website, they can be available in various sizes.
Now, as per my research, most users prefer browsing or using their smartphones in comparison to desktop or iPad browsers. So, it is unlikely that an image with a size of 5000px in width will make any difference to compact mobile screen ratios. Also, the best you can do is 1200 px in width which is also great for desktop browsers and iPad.
So, if you are using various width sizes, streamline your choices, pick an appropriate width and height, and follow the same size guide for all the images on your WordPress website. Resizing your images can help you reduce those Kbs and Mbs, and this can be done using any preferable online resizer tool.
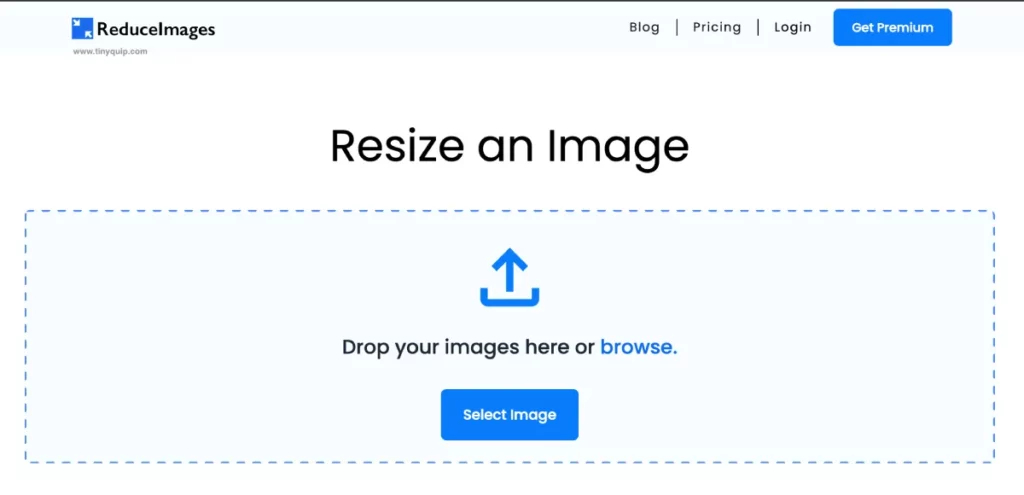
I prefer using Reduce Images, a free online image resizer tool that allows me to resize images and also adjust the quality to maintain the visual appeal while resizing the image or compressing it.
2. Cropping Out White Spaces
If your image has excess white spaces, such as from a screenshot, where the context or section is at the center of the image, it is best to crop the image.
Cropping the image will help you in two ways; first, it will reduce the image, which in turn reduces the file size and skips out the need for compressing the images. Secondly, it improves the visibility of the actual context in the image, which is at the center, and users can comfortably view it.
Also Read: How to Move from Blogger to WordPress? A Handy Guide
3. Choosing an Appropriate File Type
PNG images usually have a bigger file size compared to JPG or JPEG file images, while WebP images have almost 30% of the PNG file size. When downloading images from stock resources, such as Unsplash, the images are available in PNG format to download.
With Reduce Images, you can easily convert your PNG images into JPG format with lossless compression techniques. This should help you save some file size, but still, in most cases, you can find the image to be around 90 to 150 KBs which is still a lot to communicate between the browser and WordPress servers.
In this case, I recommend you use the WebP format for your images. WebP is the next-generation image format that Google loves. It is because they are visually appealing and, at the same time, they almost reduce your PNG file’s format by almost 70%.
WebP is lightweight and maintains the quality of the image, and you can easily export your creative or WordPress images into WebP using image editing software.
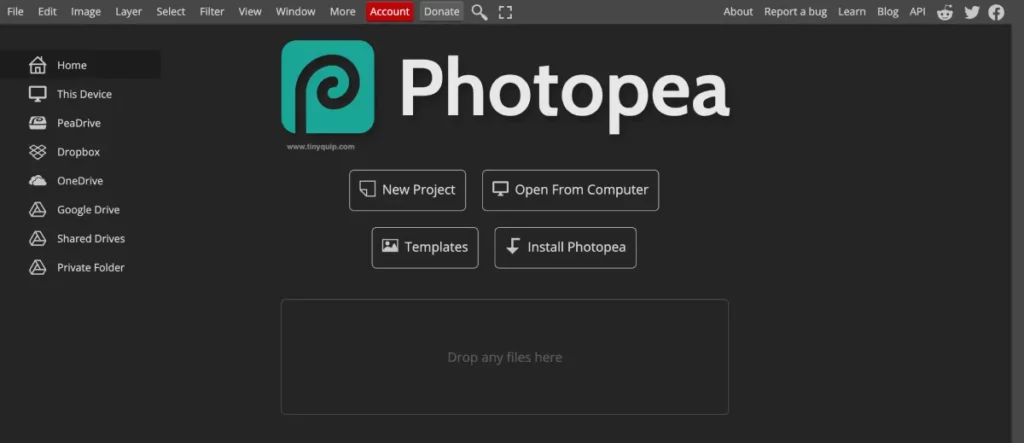
I prefer using PhotoPea, an online tool and alternative to “Photoshop.” All you need to do is drop your image or creative on the PhotoPea website and then tap on File > Export > WebP to export your creative in WebP format. You can also adjust the quality and view the image before exporting it.
Also Read: 9 Steps to Fix the 503 Service Unavailable Error on WordPress
4. Smush: Compressing Images After Uploading the Images
Smush is a handy and my favorite WordPress plugin to reduce the images after uploading them to the website.
Once you set up the Smush WordPress plugin, each time you upload a picture, the plugin itself compresses the image to the best quality. Now, there are both free and paid versions of this plugin, and it works best with the Hummingbird cache plugin.
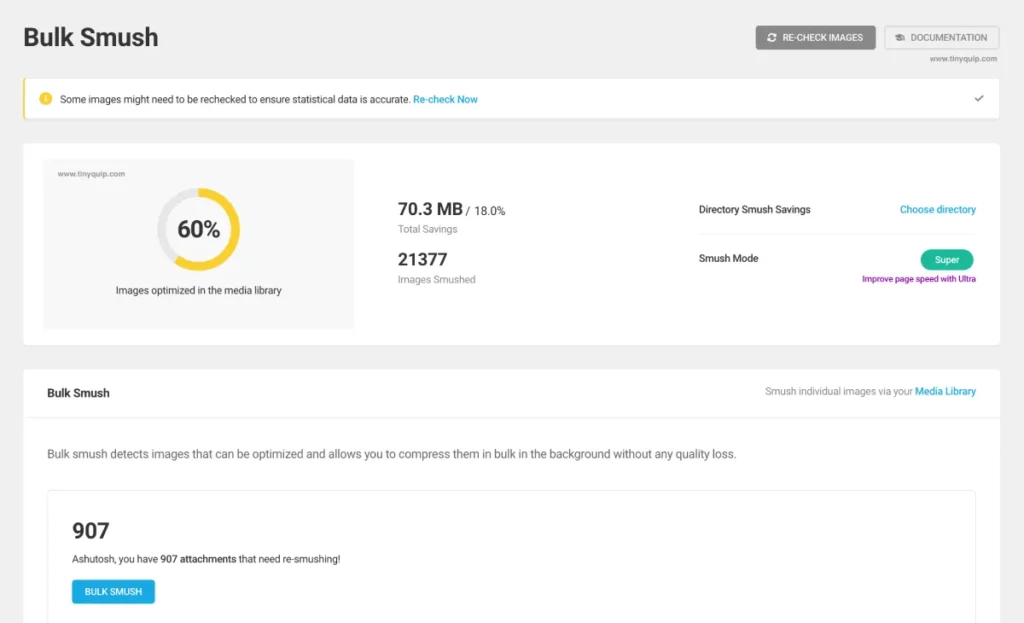
One of the best things I love about this plugin is you can compress the older images that you have uploaded even before installing the plugin. In this case, all you need to do is open the Smush settings from your WordPress dashboard and tap on the Bulk Smush option.
What I have noticed is Smush does a great job at compressing the images before and after uploading them to WordPress. But at times, you may see the visual appeal is lost, and the image is slightly more pixelated than expected. The disadvantage here is you cannot really control how much compression you need for your WordPress images.
Here is how you can install this tool on your WordPress website,
- Head to the WordPress dashboard of your website and look for the “Plugins” option on the left; tap on it.
- This should open the plugin’s page; here, tap on the “Add New” button, and you will find the WordPress repository with all the featured and popular plugins.
- Using the search bar, look for Smush and its compatibility with your website. If everything looks great, install and activate it, and this image compression plugin is ready to use.
5. HummingBird Cache Plugin
The above four steps will massively compress the WordPress images without losing much of the visual appeal. But let’s address it; if your website is great, you will likely going to have returning users to it. This is where the cache plugins help me a lot.
Cache plugins create a copy of the web pages on the user’s browser, so the next time they visit the same web page, it loads faster. Now, a lot of cache plugins do that. What’s so special about HummingBird?
HummingBird has an impressive asset minification feature that compresses not only the images but also other javascript and CSS files. In a few cases, it also allows inline combining of these scripts and overall boosting the performance.
You really don’t need this plugin for image compression for your WordPress website, but if you are looking to boost its performance overall, it is a good pick.
Note: Cache plugins can often mess up the code and break your website, always have a regular backup and use them cautiously.
Also Read: 9 Productivity Apps for MacBook That Are a Must Have
6. Kinsta to Help
If you cannot compress your WordPress images, in case they get pixelated or lose their visual appeal, the best thing to do is to improve your web servers.
Cloud servers are super fast, for instance, Google Cloud, Amazon Web Services, and the list continues. But there is one common challenge of using cloud servers; (whispers) they are expensive.
Kinsta offers fast servers to do your tasks in a flick. And with Kinsta, you wouldn’t have to compress your images to an extreme extent; everything with Kinsta is fast, and so is the website performance. And they are definitely not so expensive compared to the most popular cloud servers.
One of the best things here is you are not compromising on your web server’s performance. Unlike shared hosting, you aren’t sharing any resources, and, in fact, Kinsta uses Google Cloud servers and high-performance CDN that keep up with your website’s high performance.
Get 30% to 200% Faster Website Performance
- High-performance CDN
- Google’s cloud servers
- Reduce load times by almost 49% (TTFB, cache, and more)
- Site backups and uptime checks
- Free SSL certificates
Frequently Asked Questions (FAQs) on Compressing WordPress Images
Image compression is essential as it reduces file sizes, resulting in faster loading times and improved website performance. Smaller images enhance user experience and positively impact search engine rankings.
Absolutely! You can manually compress images before uploading them by resizing, cropping, and choosing the right file format. Online tools like Reduce Images and PhotoPea can be helpful for this purpose.
Installing and activating the Smush plugin from the WordPress dashboard is easy. It compresses images automatically upon upload. Additionally, you can compress older images in bulk using the plugin settings.
Proper image compression techniques ensure that the visual appeal is maintained while reducing file sizes. Choosing appropriate settings in compression tools helps strike the right balance.
Yes, using WebP format is a smart choice. WebP images offer high-quality visuals and significantly smaller file sizes compared to PNG and JPEG formats, improving website speed.
HummingBird cache plugin goes beyond image compression. It minifies JavaScript and CSS files, enhancing overall website performance. Although not required for image compression, it’s beneficial for performance optimization.
Absolutely! Kinsta’s cloud servers and high-performance CDN ensure lightning-fast website speed without compromising image quality. It provides an excellent hosting solution for improved user experience.
Before You Leave
Get Our Prime Content Delivered to your Inbox for Free!! Join the Ever-Growing Community… Right Now.
Give this article a quick share,
Wrapping up: Compress WordPress Images Like a Pro
Optimizing WordPress is crucial for speed, performance, and a seamless user experience. By reducing the file size of images without compromising visual appeal, WordPress managers can significantly improve loading times and overall site performance. Compressing images before uploading them, cropping out unnecessary white spaces, and choosing appropriate file formats, such as WebP, are some effective techniques to compress images for WordPress.
WordPress users can also opt for plugins like Smush to compress images both before and after uploading them while caching plugins like HummingBird offer additional performance enhancements.
I hope this article helped you with how to compress your WordPress images with and without plugins. It’s a lot of work to compress the images, but it will prove beneficial when you want a top-notch web page performance. For additional enhancements, you can always consider Kinsta as one of the best options. If you like this article, do give this a quick share on your social media handles, and do tag us. Also, join our Telegram channel, Facebook page, and Twitter to never miss a quick update.