


Network monitoring is a process of analyzing network components such as routers, switches, servers, devices, and more; a network monitoring tool makes it easy for users such as pen-testers to monitor their network and check for faulty components and unattended activities. Ever wondered why we need to check for faulty components on your network? The answer is simple; faulty components eat a lot of your internet connection and can allow unethical users to enter your network through opportunities such as open ports. In this article, we cover a lot of basics about network monitoring tools and the best picks for Linux-based users.
Quick Links
- What is Network Monitoring?
- Best Network Monitoring Tools for Linux
- 1. Wireshark | On-the-Go Network Monitoring Software
- 2. SolarWinds Network Performance Monitor | #1 Tool
- 3. NinjaOne | Best Network Monitoring Tool for Linux
- 4. Datadog – Network Monitoring Tool for Linux
- 5. Paessler PRTG | Network Monitoring Tool in SaaS Form
- 6. N-able N-central | Network Monitoring Tool for Linux
- Wrapping up: Best Network Monitoring Tools for Linux
Also read: 10 Best & Free Screen Recorders for Linux/Ubuntu
What is Network Monitoring?
What comes to your mind when you hear the word monitoring? Especially network monitoring? If you are hearing this word for the first time, let us help you understand it much better.
A network is composed of several components, such as routers, servers, firewalls, devices, switches, and more. Each component has its own purpose in the network; For example, a firewall restricts and blocks incoming data packets that can compromise your data and security. Similarly, a router acts as a communication system between devices to serve requests from each other and internal and external servers. Likewise, there are several components that have their own purpose.
Now, when you monitor your network, you understand what packets are being transmitted and what users are accessing your network. This allows you to strengthen it and restrict unauthorized and unattended access. Additionally, monitoring the network allows you to check if there are faulty components and hints to you to replace them. Faulty components eat a lot of your internet connection before it reaches you; besides, it helps you to check if there are any loose points, such as open ports that may allow hackers and other unethical users to enter the network.
Be it enterprises, organizations, or individual users, anyone can perform network monitoring, and they actually do in reality. Monitoring the network is one of the major tasks of network engineers in enterprises and organizations. However, individuals such as pen-testers who use Windows, Mac, and Linux-based also perform network monitoring, and here we list all the tools.
Also read: 11 Best Linux Distro For Programmers
Best Network Monitoring Tools for Linux
What type of software comes under network monitoring tools for Linux? Is it only the mainstream software? No, a lot of network tools such as LAN analyzers, packet sniffers, router checkers, and likewise many more come under them. Here, we list the 15 best network monitoring tools for Linux that we love using; do let us know your favorites in the comment section, and share this article with your fellows on social media.
1. Wireshark | On-the-Go Network Monitoring Software
Though Wireshark is not considered highly as a network monitoring tool by a lot of professionals, we absolutely love using it. The tool is super powerful in the analysis of the network you connect and checking what activities are being performed.

Features
- Live packet sniffing and analysis.
- Rich in VoIP analysis.
- Edit (read/write) sniffed packets in multiple formats.
- Deep inspection of protocols, over a hundred of them.
- Multi-platform network monitoring tool (Available for Windows, Mac, and Linux).
- Color-coded packet indicators for easy analysis.
- Filter the packets as per your need. Amazing huge list of filters.
To make it more convenient to use, users can apply filters and analyze packets from specific devices and network routes. Adding more to it, these packets are color-coded, and you can check only for needful packets as there are thousands of them running in any given instance. Especially in enterprises and organizations where hundreds of users are on the same network that you are monitoring or analyzing.
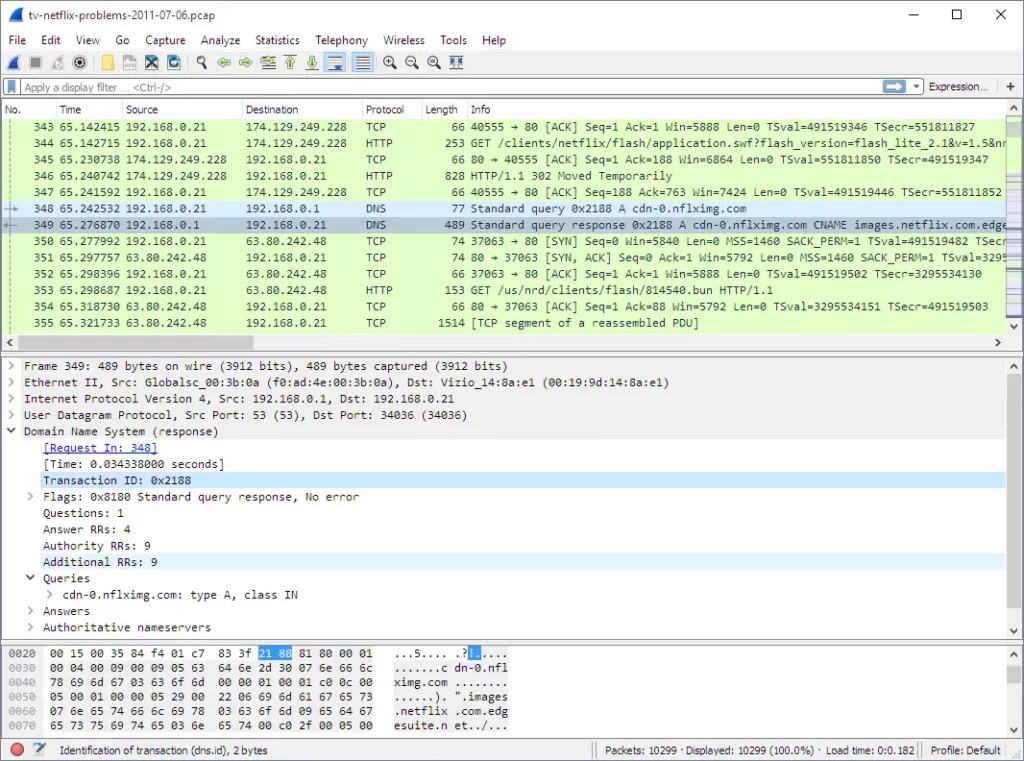
If you are using a Linux-based operating system such as Kali Linux, then you can find it pre-installed on your computer. For those who don’t have Wireshark on your Linux OS, such as Ubuntu or Debian, or any other Linux OS, you can download Wireshark from below. One of the best things about Wireshark is despite being powerful; it is one of the free network monitoring tools you can have on your Linux computer.
However, Wireshark is not a mainstream network monitoring tool and performs only the jobs of packet sniffing and analysis. This calls for a need for a mainstream network monitoring tool alternative for Linux, which we discuss next.
Also read: Want to Change Your Linux User Password? Here is the Guide For You
2. SolarWinds Network Performance Monitor | #1 Tool
SolarWinds is the perfect and one of the most recommended networks and performance monitoring tools for Linux. It is loaded with features that are mainstream in monitoring and analysis of networks, components, and packet transactions. One of the best things we loved about SolarWinds is the visual representation of data which helps in a much better understanding of the numerical data.

Features
- View and monitor network performance of autonomous access points.
- Visual representation for firewalls, servers, load balancers, and other switches in the network.
- Intelligent network and WiFi heat maps.
- Packet sniffer and SNMP analysis.
- Advanced alerting systems with detailed report view.
- Dedicated dashboard with additional functionalities and features for in-depth analysis.
- A perfect representation of network data.
SolarWinds monitors the performance of various components such as network firewalls, servers, load balancers, and switches to ensure there is no network outage. Additionally, it also performs packet analysis to understand if there is any unaccounted packet transaction indicating the loss or breach of data. The dedicated dashboard helps you by showing all the visual data in one single place and exporting them to prepare your network report. SolarWinds is the #1 network and performance monitoring tool in the entire list.

Network and performance monitoring can be performed using the 30 days trial offer, which allows you to use and check the performance of your network for free; this adds up to make SolarWinds one of the most popular and powerful network monitoring and performance tools for Linux.
SolarWinds network monitoring tool also allows you to run a complete network module such as VoIP, traffic and log analyzer, bandwidth analyzer, traffic monitor, and more. A quick email alert allows you to leave your network monitor unattended and get updates right to your mobile device.
Also read: How to Delete Files and Directories in Linux – Simple Guide
3. NinjaOne | Best Network Monitoring Tool for Linux
NinjaOne is one of the freemium networking monitoring tools for Windows, Linux, and other related operating systems. Over time, NinjaOne has proven to be the best among its competitors and has improved ever since it changed its former name NinjaRMM.

Features
- Monitor network components and all the other SNMP devices.
- Health monitoring of all devices, including workstations, servers, Windows, and macOS devices.
- Remote management of all the devices without interrupting services.
- Remote access control.
If you are more interested in monitoring and securing your network and connected devices, this is probably the tool you are looking for. It can monitor all the network components, such as routers, switches, hubs, and other SNMP devices.
Unlike the other monitoring tools, NinjaOne is also great at monitoring the ecosystem connected to the network; this also means that your workstations, servers, and other devices are also being monitored for secure health and faster internet.
What we loved the most was the remote management and monitoring feature. It is possible that we may not always be working on our Linux computer, while a constant check on the network is also important. Usually, this is when we are away from the office or traveling. In such a case, the best we can do is use NinjaOne, as it allows a remote management and monitoring feature. With this, you can monitor the network without interrupting the devices that are connected.
So, you can shut down the network or increase security when there is a brute-force attack or other security concerns, entirely using remote access on NinjaOne.
So, if you are going to try this network monitoring software, you can always give a trial before buying it. Have a check on it and if it doesn’t suit your needs, hop on to our next suggestion.
Also read: Things to do after installing Kali Linux – Most Important
4. Datadog – Network Monitoring Tool for Linux
Network monitoring is one of the tedious tasks if you are not using any right tools, and thankfully, we have Datadog on our list. Datadog is a powerful network monitoring tool that can perform various tasks in one go and, most specifically, is cloud-based.

Features
- Remote monitoring of devices on the network.
- Auto-discovery and live statues with live network topology and mapping.
- Cloud-based SaaS service.
- Changes reflected in real-time.
- Supervised DNS server activities.
- Free trial version.
When you run this network monitoring tool, you can find the nodes in real-time and analyze the situations on spots. So, if there is a real-time attack, unsupervised activities, or faults in your network, you can fix it right away.
Also, one of the most intriguing features is smart remote monitoring of devices on the network; so you don’t have to manually make a setup and run over each node, this network monitoring tool will do it all by itself and alert you. The tests run over each segment of the network and boost the performance by helping you eliminate the existing faulty components and errors. It is worth a try.
Additionally, there is something that every network monitoring personnel wishes to have on their tool; live mapping. It becomes easier with live mapping of the network to understand which specific segment of the network is facing errors and what are the possible causes for it. Moreover, you can keep an eye on systems that are facing network trouble with the help of the live status option.
With all these features, you can test drive it for free, meaning there is a trial version available. So, if you are unsure, you can try using it first, and if it fits your need, you can subscribe right away.
Also read: How to Rename Files and Directories in Linux?
5. Paessler PRTG | Network Monitoring Tool in SaaS Form
Paessler PRTG network monitoring tool is one of the most efficient; it helps you monitor networks, servers, and applications, limiting to an effective system and network monitoring.

Features
- SaaS network monitoring product
- Monitor virtual machines, servers, cloud environments, data packets, bandwidth, and other IT resources of the company
- Comes with a free version allowing up to 100 devices on a single network
- Auto-discovery feature that lists all the devices and creates a network topology for ease
- Activate only those sensors which are required making it a cost and usage-friendly tool for companies
Though the Paessler PRTG is designed for Windows servers, you can still use it in the SaaS form on your Linux systems and servers. There are several features such as auto-discovery, network topology, and monitoring virtualizations which make it one of the best options.
Paessler PRTG uses the SNMP model along with other features, such as managing virtual machines, servers, cloud environments, data packets, bandwidth, and other system and company resources.
However, is this network monitoring tool free?
Thankfully, there is a free version of the Paessler PRTG: PRTG 100, which allows up to 100 devices on a single network.
If you wish to increase the number of sensors for tracking a wide range of applications, you can get a subscription (ranging from the number of sensors: to 500, 1,000, 2,500, 5,000, and 10,000).
The best part is you can select what sensors to activate, making it one of the best options in network monitoring tools for Linux and Windows.
Also read: ExpressVPN vs Surfshark VPN: Which is the Best Overall?
6. N-able N-central | Network Monitoring Tool for Linux
N-Central is one of the finest and all-in-one network monitoring tools for your Linux servers, machines, and systems. Designed to use with the modified version of CentOS, this tool can also be used on any Linux machine as the modified version is bundled along with the software.

Features
- Monitor endpoints and servers
- Works on Linux, Windows, macOS, and other servers
- Comes with the CentOS software bundled package to make it compatible with any Linux OS you are using
- Enable mass configurations for mobile devices
- Device inventory makes it easier with ease in network topology
- Backup manager to make it secure
- Other network security options, such as firewalls, web protection, disk encryption, and intrusion detection
With N-central, you can monitor all the devices and networks, and it is perfect for small to large businesses. The tool can monitor and manage several devices using a single interface and can also monitor endpoints and servers with remote management. This makes N-central one of the best network monitoring tools for Linux and other users.
Security and reliability are usually one of the biggest concerns when it comes to data and network-sensitive tools; this is where N-central can ensure you with its security features. You get security features such as firewalls, web protection, disk encryption, and intrusion detection.
The other security features include a patch and backup manager, which helps you restore the tool in case of a catastrophe.
Before you leave…
Get Our Prime Content Delivered to your Inbox for Free!! Join the Ever-Growing Community… Right Now.
Wrapping up: Best Network Monitoring Tools for Linux
These are some of the best network monitoring tools for Linux, which is the one you like using the most? Our major picks are: N-Central, Paessler PRTG, SolarWinds, and NinjaOne. We also some of the other best network monitoring tools but for this article, we have kept the list limited to the top 7 as per our choices and tests. If you have a network monitoring tool which is near-perfect and love using it, let us know in the comments.