In this Guide,
- Check MySQL Version Using Terminal
- Check MySQL Service Status
- Check MySQL Through Package Manager
- Check for MySQL Running on Port 3306
- Check MySQL Files and Folders Manually
- Check Using phpMyAdmin (If Installed)
- What to Do if MySQL Is Not Installed
- Wrapping up: Check MySQL is Installed on Raspberry Pi
- Frequently Asked Questions [FAQs]
- Up to 40% Off on Raspberry Pi & Accessories *
When you want to check if MySQL is installed on Raspberry Pi, the best way is to use quick commands and simple checks. You do not need advanced skills or long setup steps. If you are working on a project, setting up a server, or just making sure everything is ready before you continue, these small checks save a lot of time.
This guide keeps things simple and walks you through easy methods to confirm if MySQL is present on your system. We will also look at a few backup methods because sometimes one command shows nothing, while another confirms it. The goal is to help you get a clear answer without confusion.
Also Read: How to Block Ads with Pi Hole on Raspberry Pi | Live Ad-Free Life
Check MySQL Version Using Terminal
The easiest way to check MySQL on Raspberry Pi is to ask the terminal directly. This method gives you an instant yes or no. You only need one small command. Open the terminal on your Raspberry Pi and type:
mysql --versionIf MySQL is installed, the terminal will show a version number. It may look like “mysql Ver 15.x” or something close. Your version may differ, but any output like this means MySQL is installed and the command is working. If you get a message saying “command not found,” then MySQL is either not installed or not added to your system path.
You can also try the shorter command:
mysql -VBoth commands work the same. If MySQL is present, you will see the version. If not, the terminal stays empty or shows an error. This is the fastest check and works on almost every setup.
Check MySQL Service Status
Sometimes MySQL is installed but not running. Checking the service status helps you confirm both things in one go. Open the terminal and type:
sudo systemctl status mysqlIf MySQL is installed, you will see a clear service report. It normally shows words like “active,” “running,” or “inactive.” If the service is active, MySQL is installed and working in the background, and if the service is inactive, that still means MySQL exists on your Raspberry Pi, but it is not running at the moment.
If the terminal says something like “Unit mysql.service could not be found,” that usually means MySQL is not installed on the system. This message is a strong sign because the service name does not exist unless installation is complete.
You can also try:
sudo service mysql statusOn some Raspberry Pi OS versions, this command may give a simpler result but still confirms whether MySQL is installed and recognized.
Also Read: How to Create Your Own VPN Server Using Raspberry Pi
Check MySQL Through Package Manager
Another simple way to confirm MySQL installation is by checking it through the package manager. Raspberry Pi uses APT, so you can check if MySQL packages exist on your system.
Open the terminal and type:
dpkg -l | grep mysqlIf MySQL is installed, this command will show a list of MySQL-related packages. You may see names like mysql-server, mysql-client, or mysql-common. Even if the service is not running, the presence of these packages confirms that MySQL exists on your Raspberry Pi.
If nothing shows up in the list, chances are MySQL is not installed. To double-check, you can run:
apt list --installed | grep mysqlThis gives the same result but in a different format. If any MySQL package appears, it means some part of MySQL is installed. If the output stays blank, then MySQL is very likely missing.
This method is useful because even if commands like mysql –version fail, the package manager still remembers what is installed.
Check for MySQL Running on Port 3306
MySQL uses port 3306 by default. So if this port is active, there is a good chance that MySQL is installed and running. This method is helpful when other commands do not give clear results. To check the port, open the terminal and type:
sudo netstat -tlnp | grep 3306If MySQL is running, you will see a line showing port 3306 in the list. It may look like “0.0.0.0:3306” or “127.0.0.1:3306,” followed by a process ID. This means MySQL is not only installed but also working in the background.
If netstat is not installed, you can run:
sudo ss -tlnp | grep 3306This gives the same type of result. When the port appears in the output, MySQL is active. If nothing shows up, either MySQL is not installed or the service is not running.
Port checking is a simple way to confirm MySQL activity without having to open or log in to MySQL directly.
Also Read: 10 Best Rufus Alternatives | Windows, Mac, and Linux
Check MySQL Files and Folders Manually
If the commands feel confusing or if you want visual confirmation, you can check MySQL files and folders directly on your Raspberry Pi. These files are created only when MySQL is installed. Open the terminal and run:
ls /etc/mysqlIf this folder exists and shows files inside it, MySQL is installed. You may see folders like mysql.conf.d, my.cnf, or other configuration files. Their presence is a strong sign of a completed installation.
You can also check the main MySQL data directory:
ls /var/lib/mysqlIf MySQL is installed, this folder contains system files and sometimes database folders. If the directory is empty or does not exist, MySQL might not be installed, or the setup was incomplete.
This method is helpful because even if the service is off or the commands fail, the folders still remain on the system. It gives a simple way to confirm installation by looking at the actual files MySQL uses.
Check Using phpMyAdmin (If Installed)
If you have phpMyAdmin installed on your Raspberry Pi, it can help you confirm MySQL installation in a simple visual way. phpMyAdmin only works when MySQL is present, so opening it in your browser gives you an instant answer.
Open your web browser on Raspberry Pi and go to:
http://localhost/phpmyadminIf phpMyAdmin loads, you will see a login page that asks for a MySQL username and password. This means MySQL is installed because phpMyAdmin cannot run without it. If the login works, it confirms that MySQL is active and ready to use.
If you get an error page or the browser says “Not Found,” this could mean phpMyAdmin is not installed. In that case, this method will not help you check MySQL, so you can rely on the earlier terminal commands instead.
phpMyAdmin is optional, but when available, it gives a simple and clean way to confirm that MySQL exists on your Raspberry Pi.
Also Read: Linux Commands Cheat Sheet | Using Linux Like a Pro
What to Do if MySQL Is Not Installed
If none of the checks show MySQL on your Raspberry Pi, installing it is simple. You only need a few commands. Start by updating your system so you get the latest packages. Open the terminal and run:
sudo apt updateThen install the MySQL server package:
sudo apt install mysql-server -yThis command installs the server, client tools, and everything you need to get MySQL running. Once the installation is done, you can start the MySQL service with:
sudo systemctl start mysqlTo make sure it runs every time your Raspberry Pi starts, use:
sudo systemctl enable mysqlYou can now run the earlier checks again to confirm the installation. The version command, service status, and even the port test should all show a clear result. If you plan to use MySQL in projects, you may also want to secure it using:
sudo mysql_secure_installationThis helps set up a root password and basic security. After that, MySQL is ready to use.
Wrapping up: Check MySQL is Installed on Raspberry Pi
Checking if MySQL is installed on your Raspberry Pi does not have to feel technical or confusing. With a few simple commands, you can confirm everything in minutes. Whether you prefer checking the version, the service status, the installed packages, or even the active ports, each method gives you a clear and quick answer. You also have visual checks, like phpMyAdmin and file directories, if you like seeing things yourself. If MySQL is missing, installing it is easy and takes only a few steps. Once installed, you can repeat the same checks and keep your setup clean and ready for your projects. This guide keeps things simple so you can get the information you need without any extra trouble.
Before You Leave
Get Our Prime Content Delivered to your Inbox for Free!! Join the Ever-Growing Community… Right Now.
Give this article a quick share,
Frequently Asked Questions [FAQs]
Run mysql –version in the terminal. If you see a version number, MySQL is installed.
Most of the time, yes. It means MySQL is not installed or not added to the system path.
It means MySQL exists on your Raspberry Pi but is not running at the moment.
Yes. If dpkg -l | grep mysql shows any MySQL packages, it is installed.
Yes. If port 3306 is active, MySQL is running in the background.
No. It is optional. It only helps if you already have it installed.
It usually means MySQL was never installed or was removed earlier.
Install it using sudo apt install mysql-server and then check again using the steps in this guide.
Up to 40% Off on Raspberry Pi & Accessories *
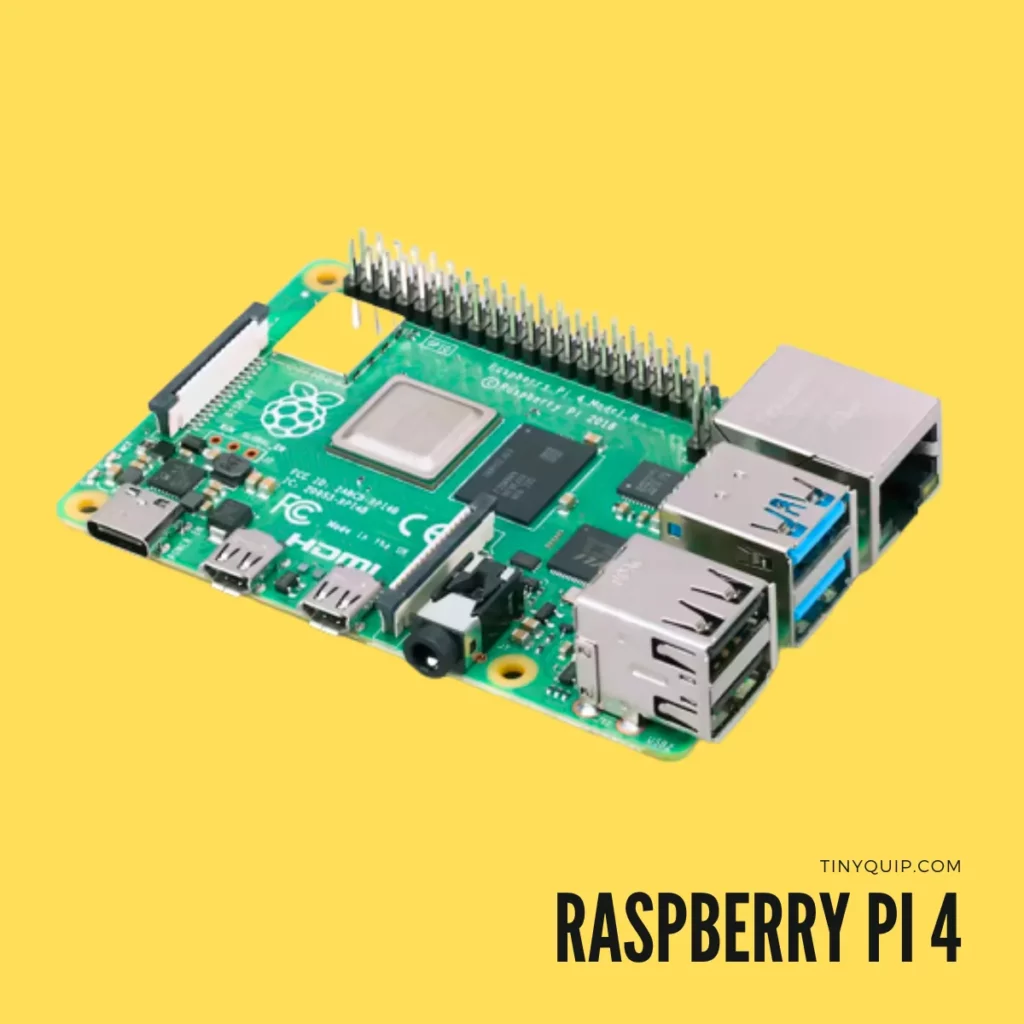
Raspberry Pi 4
- Quad-core Cortex-A72 (ARM v8) 64-bit SoC @ 1. 5GHz
- 4GB LPDDR4-2400 SDRAM
- A 2. 4 GHz and 5. 0 GHz IEEE 802. 11B/g/n/ac Wireless LAN
- 2 × USB 3. 0 ports, 2 x USB 2. 0 Ports
- 2 × micro HDMI ports supporting up to 4Kp60 video resolution
Raspberry Pi 4 Accessories